Arduino#
1. Arduino简介#
Arduino是一种开源电子原型平台,旨在通过硬件与软件的结合,帮助初学者学习电子和编程。Arduino开发板能够与多种传感器和执行器连接,通过灵活的编程实现各种功能。其易于使用的开发环境和丰富的社区资源,使得用户可以方便地创建互动项目。
Arduino兼容C/C++编程语言,提供了简单易懂的代码结构,适合学生和爱好者进行学习和实验。由于其高度的可扩展性,Arduino被广泛应用于从基础教育、智能家居到机器人和嵌入式系统等多个领域。
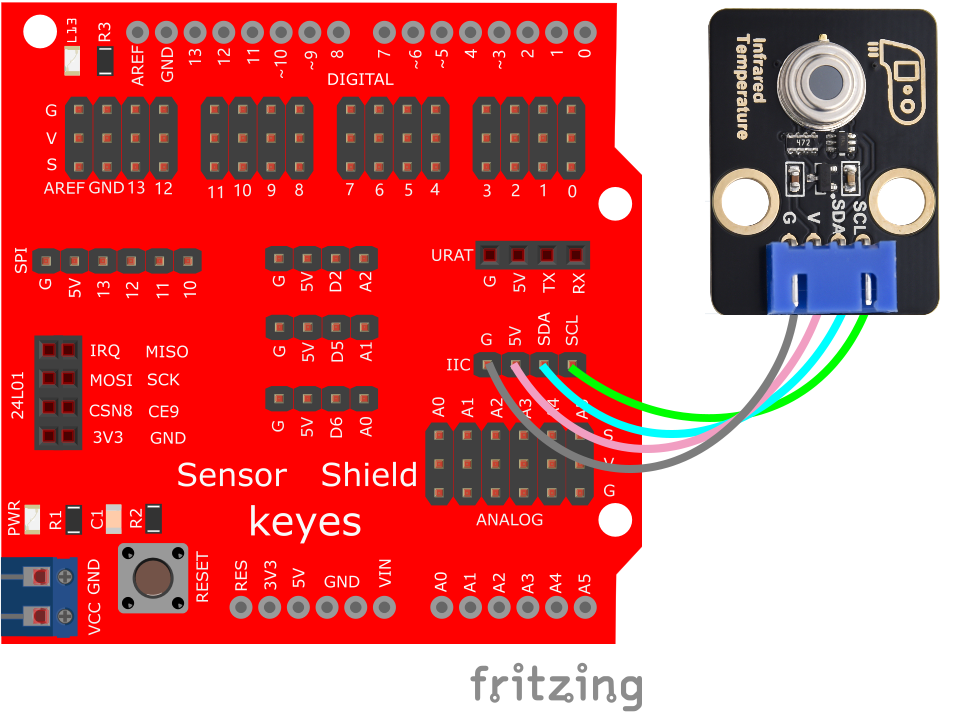
2. 接线图#
3. 测试代码#
下载资料:Arduino
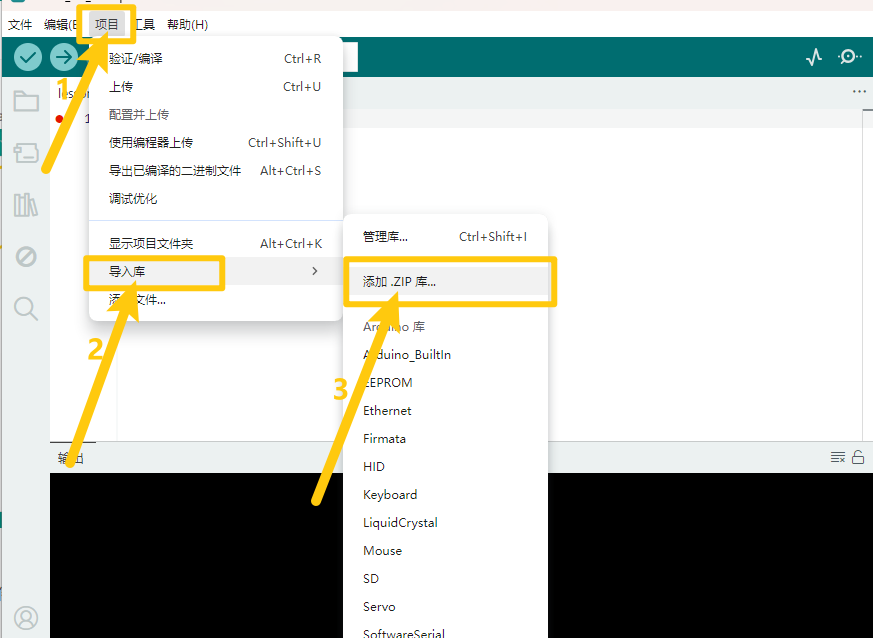
打开Arduino IDE,选择“项目”,选择“导入库”,再选择“添加.ZIP库”。
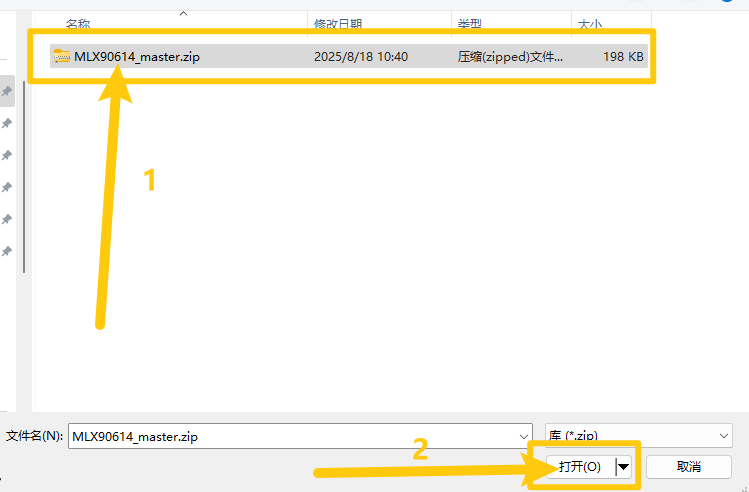
找到下载资料的存放位置,打开文件夹找到库文件,选择要导入的库,点击“打开”。
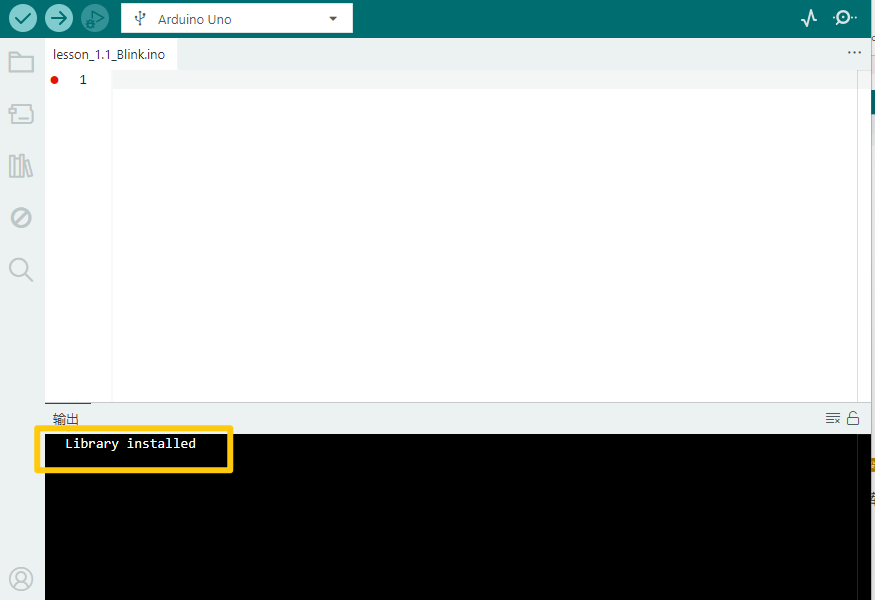
安装成功出现的界面。
#include <i2cmaster.h>

void setup() {
    Serial.begin(9600);
    Serial.println("Setup...");
    i2c_init(); // Initialise the I2C bus
    PORTC = (1 << PORTC4) | (1 << PORTC5); // enable pull-ups
}

void loop() {
    int dev = 0x5A << 1;
    int data_low = 0;
    int data_high = 0;
    int pec = 0;

    i2c_start_wait(dev + I2C_WRITE);
    i2c_write(0x07);

    // read
    i2c_rep_start(dev + I2C_READ);
    data_low = i2c_readAck(); // Read 1 byte and then send ack
    data_high = i2c_readAck(); // Read 1 byte and then send ack
    pec = i2c_readNak();
    i2c_stop();

    // This converts high and low bytes together and processes temperature
    double tempFactor = 0.02; // 0.02 degrees per LSB (measurement resolution of the MLX90614)
    double tempData = 0x0000; // zero out the data

    // This masks off the error bit of the high byte, then moves it left 8 bits and adds the low byte.
    tempData = (double)(((data_high & 0x007F) << 8) + data_low);
    tempData = (tempData * tempFactor) - 0.01;

    float celcius = tempData - 273.15;
    float fahrenheit = (celcius * 1.8) + 32;

    Serial.print("Celcius: ");
    Serial.println(celcius);
    Serial.print("Fahrenheit: ");
    Serial.println(fahrenheit);

    delay(1000); // wait a second before printing again
}
4. 实验说明#
在实验中,我们需要先把编码器的库 MLX90614_master 导入到我们的IDE库文件夹中,否则编译将无法通过。
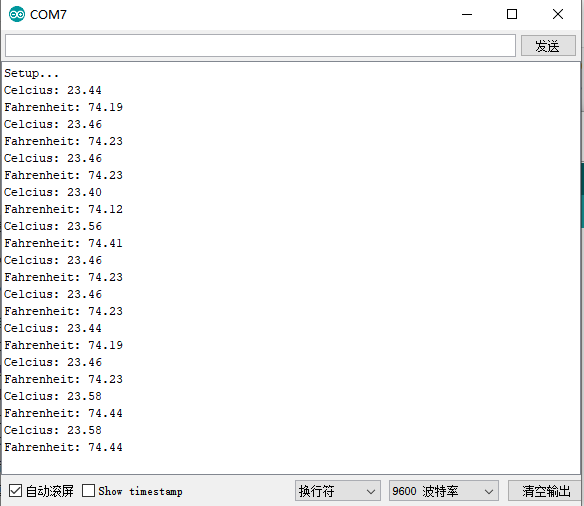
5. 测试结果#
按照接线图接好线,上传代码并上电后,打开串口监视器,设置波特率为9600,将手靠近模块的感应处,监视串口显示当前物体的温度(摄氏度和华氏度),如下图所示: